Using QR Codes with Location Scan
Location Scan allows users to scan QR Codes to complete task lists. Location Scan generates reports with location-centric information.
Scanning QR Codes on JM Connect
Creating QR Codes
When an Area is added to a Location, a QR Code is generated at the same time. 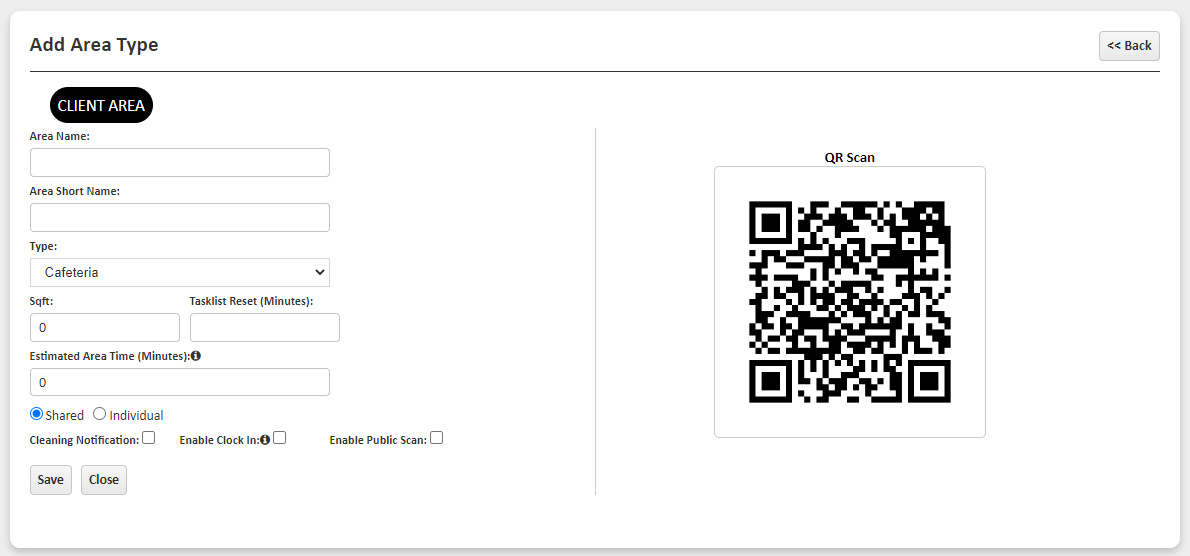
- Navigate to Customers > Manage Locations.
- Click the Edit Pencil in the Action column for the desired Location.
- Select the Area subtab.
- Select +Add Area.
- Fill out the information.
- Select Save to create the Area (and QR Code).
Printing QR Codes
- Navigate to Customers > Manage Locations.
- Click the Edit Pencil in the Action column for the desired Location.
- Select the Area subtab.
- Select a Print option to generate a PDF of all QR Codes at the location.
- Print App Barcode (1x1) - Generates a PDF of 1" by 1" QR Codes.
- Print App Barcode (2x2) - Generates a PDF of 2" by 2" QR Codes.
- Print App Barcode (Avery Format 5160) - Generates a PDF of QR Codes in the Avery 5160 label paper format.

Placing QR Codes
QR Codes can endure wear and tear depending on where they are located in your facilities. We suggested printing QR Codes on durable paper, such as heat transfer or vinyl. Placing clear tape over a QR Code can also prevent stains and scratches.
When setting your QR Codes at your locations, we suggest placing them in low-touch areas, such as underneath a fixture or on the side of a doorframe.
Scanning QR Codes on JM Connect
- On JM Connect, select the Scan Area icon.
- Point the device's camera at the QR Code to scan.
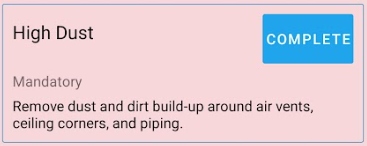
- After scanning the QR Code, a list of tasks will be visible. At the top of the screen, users are able to see:

- If the area is Currently in Use.
- If the Area is marked as Clean or Not Clean.
- The last time the Area was marked as Clean.
- The name of the last employee who cleaned the Area.
- Users have the option to:
- Start Cleaning - This allows users to mark tasks as Skipped or Complete.
- Report Not Clean/Clean - Changes the Area status to Not Clean/Clean.
- Report In Use/Not in Use - Changes the Area status to In Use/Not in Use.

- To begin cleaning an area, select Start Cleaning. When Start Cleaning is initiated, the Area's Status will change to Not Clean and In Use.
- Select Skip or Complete on tasks.
- If the QR Code is Shared, tasks that have already been completed by another employee will not have an option to Complete.
- Select Finish Cleaning to complete the Area.
Scanning a New QR Code
If a user accidentally scanned the wrong QR Code:
- Open Scan Area on JM Connect.
- Select the QR Code button in the top righthand corner of the screen.

- Scan the correct QR Code.
Cleaning Notification
If Cleaning Notification is enabled for an Area, clients using Customer Portal and Managers trained on that location will receive alerts from JM Connect when an Area is marked as Clean or Not Clean. This allows clients and managers to stay updated on the Status of areas.
Client Cleaning Reminder
Clients are able to scan codes from the Client version of JM Connect and remind users to clean dirty areas. This builds trust between clients and staff.
For clients to send Cleaning Reminders:
- Log into JM Connect as a Client (if Customer Portal has been set up).
- Select the location from the list.
- Select the QR Code icon in the top righthand corner of the screen, then scan the code.
- If the area is currently Not Clean, the Remind Cleaner option will appear.
- Selecting Remind Cleaner will send a message to trained Managers through Client Message.

Area Scan Reports
Click here to learn more about QR Code reporting.
- From the desktop site, navigate to Reports >QR Area Reports.
- Select a report:
- Area Status Report - Shows a graphic view of the total number of areas in the system, the total cleaned, and the total not cleaned.
- Area Status History Report - Shows the area name, area type, location, scan date and time, scan type, who scanned the code, and the clean/used status at the time of the scan.
- Employee Scan Timeline -Shows the employee, source and destination area, start and end time, and the duration between source and destination areas.
- Summary by Day - Shows how many scans were done in an area per day. Selecting the scan amount shows additional information, such as the area name, area type, employee, scan time (duration), start and end times, and task list information.
- Cleaning Time vs. Area Estimation - Compares actual labor time to estimated Area times.
For more information, or to send in a request to the Janitorial Manager support department, use the red 'Help' button in the bottom right corner of any Help Desk article.
Comments
0 comments
Please sign in to leave a comment.