Team Schedules
Team Schedules allow Managers to clock multiple employees in and out at the same time.
Creating a Team Schedule on the Web
Creating a Team Schedule on JM Connect
Clocking In and Out on JM Connect
Creating a Team Schedule on the Web
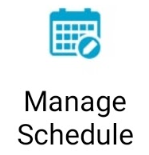
- Navigate to Customers > Manage Schedule.
- On the Schedule tab, select the Add Schedule button.
- These same steps can be done from the Recurring tab to create a Recurring Team Schedule.
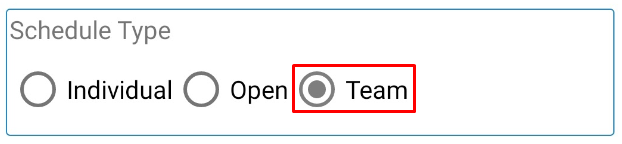
- Fill out the required information, then select Team for the Scheduled Type.
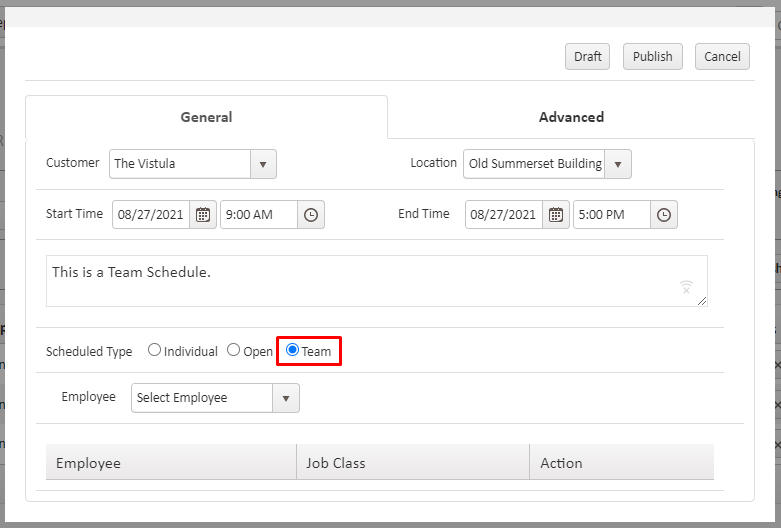
- Select the employees that will be included in the schedule. Multiple employees can be added.
- Navigate to the Advanced tab and adjust the settings, as needed.
- If a Fixed Rate is specified, it will apply to each employee on the schedule.
- Select Publish to finish the schedule.
Creating a Team Schedule on JM Connect
- On JM Connect, select the Manage Schedule icon.
- Select the + (Plus) icon.
- Fill out the required information, then select Team for the Scheduled Type.
- Select the employees that will be included in the schedule. Multiple employees can be added.
- Select the Save button at the bottom of the screen to finish the schedule.
Clocking In and Out on JM Connect
Managers have the ability to clock employees in and out of Team Schedules.
Clocking In
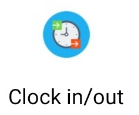
- On JM Connect, select the Clock In/Out icon.
- Select Team Schedule.

- Select the schedule that employees will be clocking into.
- The Team Schedule screen will show general information about the schedule, including the Customer, Location, scheduled dates and times, and the employees added.
- Managers have the ability to change an employee's scheduled Job Class from this screen, if needed.
- Select the Date and Time for the Clock In at the bottom of the screen.

- Select Team Clock-In.
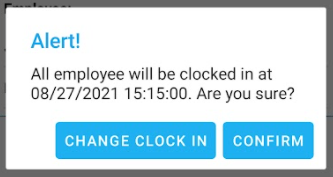
- On the popup, select Confirm to finalize the clock in, or choose Change Clock In to edit the information.
Clocking Out
- On JM Connect, select the Clock In/Out icon.
- Select Team Schedule.
- Select the schedule that employees will be clocked out of. Any schedules that employees are currently clocked into will state Clocked In.
- The Team Schedule screen will show the Actual In and Total Work time. Employees with green checkmarks next to their names were clocked in with the Team Schedule.
- Select the Date and Time for the Clock Out at the bottom of the screen.
- Select Team Clock-Out.
- On the popup, select Confirm to finalize the clock out, or choose Change Clock Out to edit the information.
- After a Team Schedule has been clocked out of, it will be removed from the Team Schedule screen.
Reviewing Team Schedules
Team Schedules can be reviewed from the portal site.
- Navigate to Customers > Manage Schedule.
- Select the Team tab.
- Team Schedules will be visible from this screen, and shows the following information:

- Location - The Location that the schedule was made for.
- Schedule In and Out - The scheduled times for the shift.
- Actual In and Out - The times that employees actually clocked in for the shift.
- Hours Worked - The amount of time that employees stayed clocked in for the shift.
- Clocked In and Out By - The Manager who clocked the team in or out.
- Selecting the arrow to the left of the Team Schedule will show the following additional information:

- Employee - The Name of the employee on the schedule.
- Start and End Time - The time the employee was clocked in and out of the schedule.
- Duration - The amount of time that the employee stayed clocked in for the shift.
- Group Clocked In - Indicates that the employee was clocked in with the Team.
- Group Clocked Out - Indicates that the employee was clocked out with the Team.
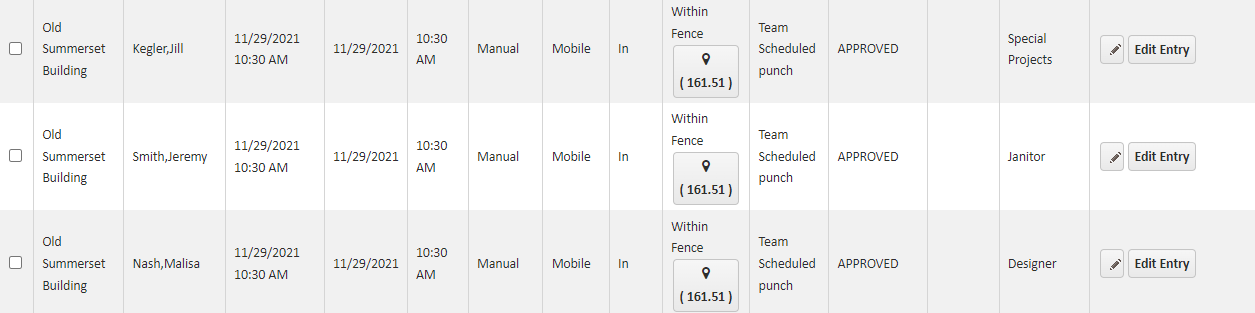
Clock In/Out Report
When Teams clock in/out, the location information is pulled for whoever initiated the clock in/out (a manager). When looking at the Clock In/Out report, all Team members will have the same location as the manager.
For more information, or to send in a request to the Janitorial Manager support department, use the red 'Help' button in the bottom right corner of any Help Desk article.
Comments
0 comments
Please sign in to leave a comment.